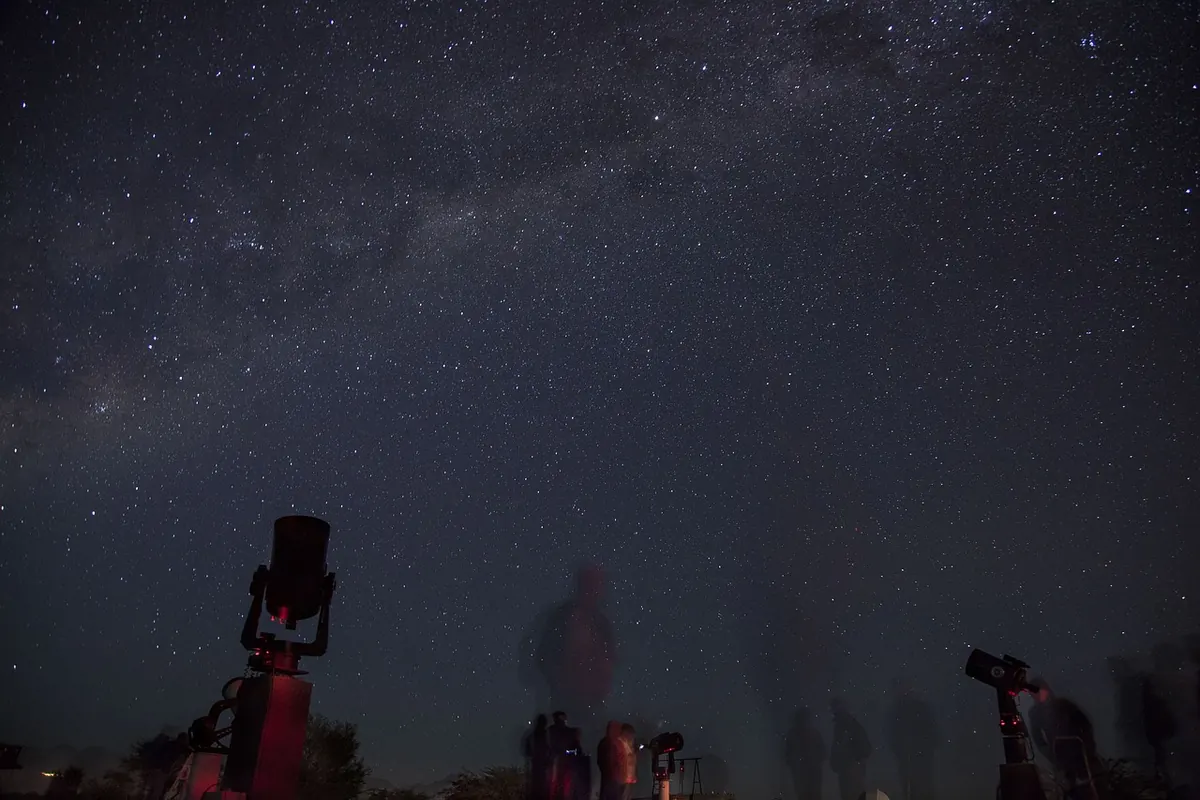
You have hauled a telescope into the garden, waited three weeks for a clear night, and now you are squinting at a grey smudge that stubbornly refuses to look like Saturn. Almost every disappointing first session under British skies comes down to a small set of avoidable errors. The good news is that the fixes are mostly free, and most of them are about training your eyes and your habits rather than spending money.
1. Washing out your night vision with white light
Your eyes need 20 to 30 minutes in the dark to reach anything like full sensitivity, and one white torch beam resets that clock. Beginners routinely check a phone, flick on a kitchen light, or use a white headtorch to read a star chart, then wonder why the Andromeda Galaxy is invisible.
Use a red torch. A cheap red bike light or a headtorch with a red mode does the job. Turn your phone brightness to its lowest setting and apply a red filter or dark mode. Once your dark adaptation settles in, faint objects that were nowhere at nine o'clock appear as if from nowhere.
2. Setting up in the wrong spot
A streetlight over the fence, a security light that triggers every time next door's cat moves, or a view straight across a warm rooftop will all cost you detail. That is mistake two. Mistake three is observing through glass: a window adds distortion and cuts off most of the sky you actually want to look at.
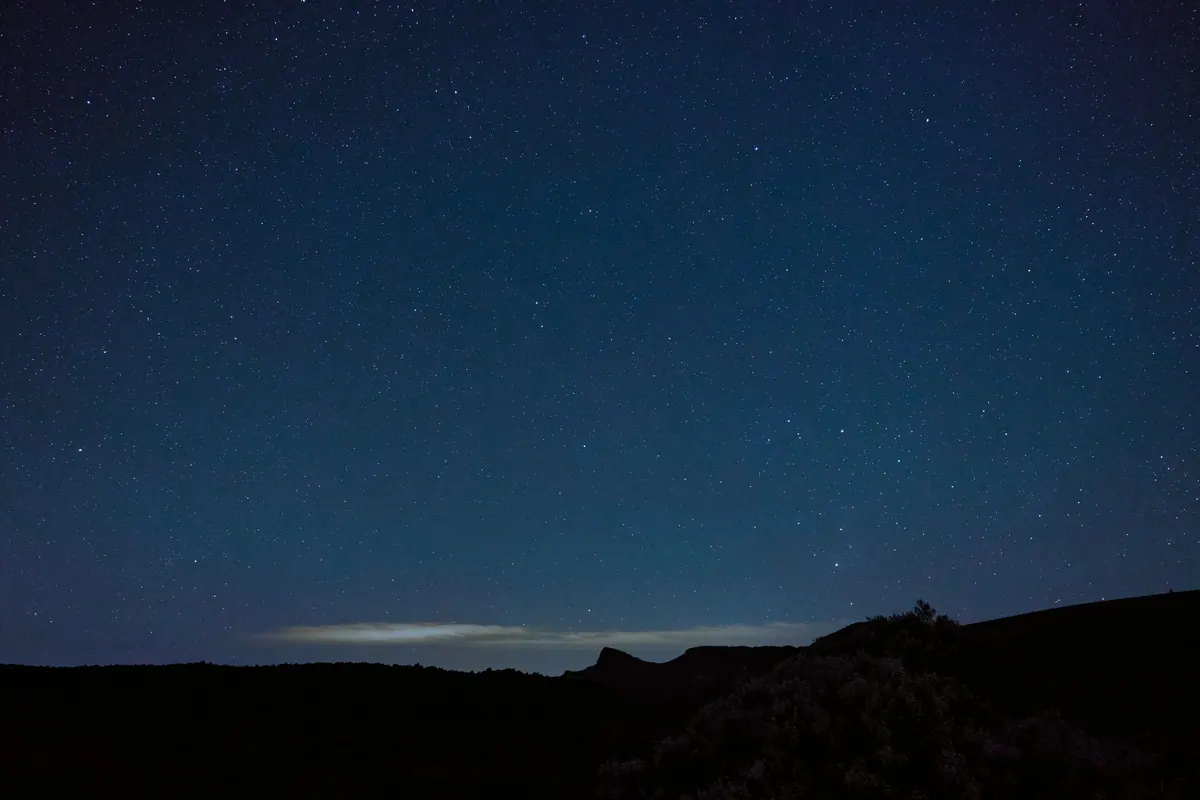
Walk your garden after dark and find the darkest corner. Put a hedge, shed or fence between you and the nearest lamp, then let your eyes settle. If your area is genuinely bright, look for a local astronomy club, as most run regular sessions at darker sites, or head for one of the UK's dark sky places on a clear, moonless night. Even driving ten minutes to the edge of town can transform what you can see.
3. Expecting Hubble-quality views
Long-exposure photographs are not what your eye sees. Planets are small discs, and most galaxies and nebulae are faint grey smudges whose structure only appears after patience and practice. Mistake four is unrealistic expectations, and it puts more beginners off than bad weather does.
- Start at low magnification to locate an object, then increase only if the view holds up.
- Try averted vision: look slightly to the side of a faint object and it often brightens.
- Observe the same target on several nights, because clarity and steadiness vary hugely.
- Sketch or note what you see, so progress is visible when memory is not.
4. Buying a telescope before you can find anything
Mistake five is skipping the cheap stuff. A pair of 10x50 binoculars and a planisphere or free star app will teach you more in a month than an unused telescope will in a year. Learn a handful of constellations, such as Orion in winter and Cygnus and the Plough through summer and autumn, and star-hop from there.
Mistake six is the department-store telescope sold on magnification figures in the hundreds. Those numbers mean nothing if the optics and mount cannot support them. If you are ready to buy, talk to club members, look through their kit on a real night, and consider a modest second-hand refractor or a small Dobsonian. A steady mount matters far more than a large number on the box. If buying second-hand, view it in daylight and test the mount before handing over money.
5. Ignoring the Moon, the weather and the season
A full Moon lights up the whole sky, which makes it the wrong time for faint galaxies and nebulae but a superb time for the Moon itself, especially along the terminator where the shadows are longest. Mistake seven is not checking the lunar phase before planning a session.
Mistake eight is forgetting how short UK summer nights are. Around the solstice, true darkness barely arrives at all in the north of the country, which is why deep-sky observers tend to wait for August onwards. Check a cloud forecast before carrying kit outside, and accept that even a clear-looking night can be steady or boiling, clear or hazy.
6. Fighting your kit in the dark
Several small mistakes pile up here. Not letting a telescope cool to outdoor temperature produces mushy views, so allow 20 to 30 minutes for a small scope and longer for a large one. Dew forms fast on a clear British night, and a dew shield or a simple wrap helps enormously. A red-dot finder that was never aligned in daylight will send you hunting in completely the wrong direction. Pushing magnification too high on a wobbly night makes everything worse, not better.
Then there is you. Standing still in a cold garden drains concentration faster than anything else, so wear more layers than you think you need, and sit down if you can. A camping chair behind a small telescope keeps you steady and comfortable, which is half the battle.
7. Giving up after one disappointing night
Mistake ten is treating a first session as a test you either pass or fail. Clouds roll in, the dew wins, the one object you wanted sits behind a tree. That is normal. The observers who stick with it simply go out again, often for twenty minutes at a time, and gradually build familiarity with the sky. Pick one target per session, look at it properly, then go inside. Over a season, that adds up to a great deal of sky.
Your next clear night: a simple routine
- Check the forecast and the moon phase in the afternoon.
- Set up before sunset and align your finder on a distant chimney or pylon.
- Let the optics cool while you eat.
- Go out with a red torch, warm layers and a chair.
- Give your eyes twenty minutes, then start with something easy: the Moon, Jupiter, or the double star Albireo.
- Finish with a note of what you saw and what you would do differently.
Then repeat. Nothing on that list needs expensive equipment, and the reward, whether it is Saturn's rings or a star cluster you found yourself, is worth the wait.
Photo: StockSnap / Pixabay