The forecast says clear, and the moon sets just after ten. You load the car, drive twenty minutes to a layby with a decent southern horizon, set up — and realise the one thing you actually needed is on the kitchen table. It happens to everyone. British nights add their own complications: damp air, sudden mist, temperatures that fall faster than you expect once the sun has gone, and dew that appears on a front element within half an hour. A checklist will not banish the cloud, but it means that when the sky does open, you are ready rather than rummaging.
Camera, Lenses and Support
Start with what you already own and build outwards. Almost any camera with manual controls can produce good night-sky images; what usually ruins a shoot is a weak mount or a missing accessory.
- Camera body with manual mode, RAW files and bulb exposure. A mirrorless body with an electronic viewfinder makes manual focusing much easier in the dark, but a DSLR is perfectly capable.
- A fast wide lens. Something like 14–24mm at f/2.8, or a 35mm f/1.8 if you want more foreground in the frame. Faster glass means a lower ISO and cleaner files.
- A sturdy tripod that reaches eye level without the centre column cranked right up. Thin, light tripods vibrate in wind, which is one thing the UK has in abundance.
- Spare quick-release plates, batteries and a remote release or intervalometer, so you can shoot a sequence without touching the camera.
- Optional: a star tracker. Worth adding once you move beyond static widefield shots and want longer exposures without trailing.
Pack the camera bag the day before, not an hour before you leave. Test that the tripod head locks properly and that your lens hood fits — small mechanical annoyances become enormous ones at one in the morning.
Settings to Sort Before You Leave the House
Menus are hard to read by red torchlight. Set the important things at the kitchen table while you can still see them.
Focus
Switch to manual focus and disable autofocus entirely. Live view, magnified to 10x on a bright star, is the most reliable method. A Bahtinov mask makes it quicker if you own one, and once focused, tape the focus ring so a stray knock does not undo your work.
Exposure
Shoot in RAW, use manual mode, and start around f/2.8 to f/4 with ISO 1600–3200 and a shutter speed from the 500 rule (500 divided by your focal length) as a rough starting point, then shorten it if stars look elongated. Check the histogram rather than the rear screen — a night sky should sit away from the left edge, but a bright foreground will not dominate unless you are blending exposures.
Power and Storage in the Cold
Batteries lose capacity quickly as the temperature drops, so a battery that lasts all evening in summer may give up in an hour in January. Take at least two spares per camera and keep the unused ones in an inside pocket, where your body heat keeps them working. An external USB power bank is useful for long time-lapse runs, and a 12V or USB dew heater needs its own supply, so plan for that too. Bring more memory card space than you think you need: a night of RAW sequences fills a card surprisingly fast, and reformatting in the field is a good way to lose something irreplaceable.
Clothing for Standing Still
Astrophotography is not a walk; it is standing around in a field doing very little while the air gets colder. Dress for the temperature you expect at 3am, not the one in the car park at 9pm.
- Thermal base layer, fleece mid-layer and an insulated jacket, plus waterproof overtrousers — dew soaks through ordinary trousers within an hour.
- Hat, buff and two pairs of gloves: thin liner gloves for working controls, over-gloves for waiting.
- Thick socks and boots with some insulation. Standing on cold ground pulls heat out of you faster than cold air does.
- A flask, a sit mat and a folding chair, because a two-hour session on your feet becomes a forty-minute one.
Tell someone where you are going and when you expect to be back, especially if you are heading somewhere without phone signal. If a health condition makes cold or fatigue more risky for you, speak to a pharmacist or your GP before planning a long winter session.
Dew, Frost and Condensation
On clear, still nights the lens radiates heat into the sky and drops below the air temperature, so moisture condenses on the glass. As a rule of thumb, if the forecast dew point is within a couple of degrees of the air temperature, expect trouble.
The fixes are simple and cheap: a lens hood or extendable dew shield, a dew heater strap around the barrel, and a chemical hand warmer taped near — but not touching — the front element. Never wipe a dewed lens with a cloth; you will smear the coating and possibly scratch it. Let it clear naturally with the heater on, and keep a spare microfibre cloth for the viewfinder only. A small towel over the camera body helps with frost, and silica gel sachets in the case reduce condensation on the drive home.
The Packing List
- Imaging: camera, fast lens, tripod, remote release, intervalometer, spare plates, lens hood, dew heater, spare batteries.
- Light and power: red head torch, spare red torch, USB power bank, charging cables, hand warmers.
- Comfort: insulated layers, gloves, hat, boots, flask, snacks, chair or sit mat, bin bags for wet kit.
- Admin: charged phone, star chart or planetarium app, notebook, pen, gaffer tape, elastic bands, microfibre cloths.
Before You Go: A Ten-Minute Routine
Charge every battery. Format the cards. Fire the intervalometer once to check it works. Check the cloud forecast, the moon phase and the dew point, and have a second location in mind in case the first is fogged in. Load the car while it is still light, leave fifteen minutes earlier than you think you need, and give your eyes twenty minutes to dark-adapt once you arrive. Then set up, focus, shoot a test frame and look at the histogram before you commit to a long sequence.
Do that and the clear nights you do get will be spent under the stars rather than hunting for a missing cable in the boot.
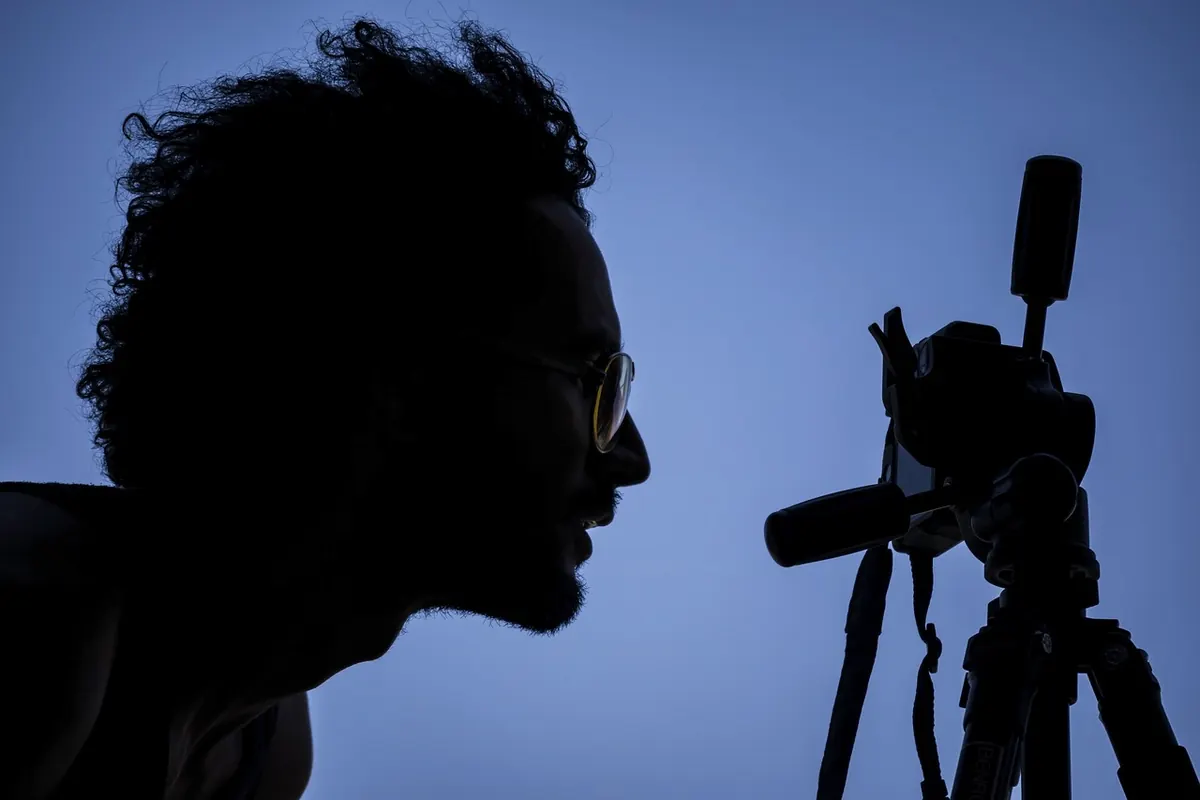
Photo: mostafa_meraji / Pixabay